Learn how to plant, grow and save bean seeds!
May 1, 2021From seed to vine to pod, we can support your bean growing adventure.

There’s a little bit of magic in watching a seed go from a tiny packet of potential to a vine or bush complete with beans you can pick and pop in your mouth. And caring for seeds as they grow gets you out for fresh air, is good for your mental health and, if everything goes well, provides you with yummy results. Learn how to plant, grow and save bean seeds with these steps.
Choosing your bean seeds
There are thousands of varieties of bean out there. Alongside decisions you make about the flavour, colour, hardiness, etc. of beans you want, there are two big considerations when choosing bean seeds: do you want bush bean or pole beans?
Bush beans

Bush beans are usually determinant, so they are fairly compact and don’t require support. Container gardening? These might be the beans for you. Each plant will provide you with one or two weeks of harvest, so planting them every two to three weeks during the season will mean a continuous harvest. (Note: If you have a packet of bean seeds from a SeedChange booth at an event, including Dragon Tongue, Royal Burgundy and Blue Jay, they are all bush beans.)
Pole beans

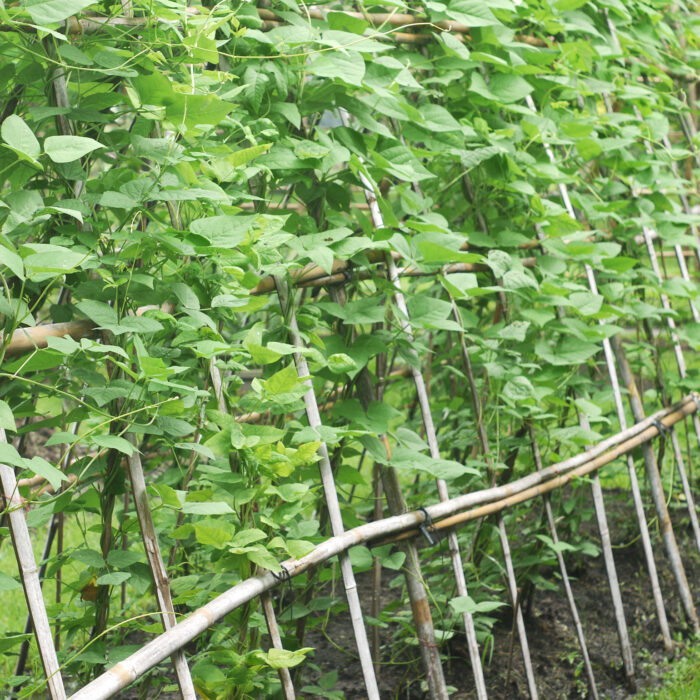
Pole beans are vining, or indeterminant, and need the support of a trellis, pole, or even another crop like corn, to grow. They can be planted slightly closer together than bush beans (where bush beans would like 15-20 centimetres between them, you can plant pole beans 10 centimetres apart). As long as you pick the young beans every two days or so, your pole beans will give you a continuous harvest for six to eight weeks.
Once you figure out what you have the space and equipment for, it’s time to source your seeds from a local seed producer. Take a look at this quick list of things to keep in mind when buying seeds and then check out this list of where to find good, locally adapted seeds across Canada.
For new and longtime gardeners alike, growing food from seed can feel daunting—but it doesn’t have to be! Sign up and we’ll help you get delicious results by sending regular tips and tricks like mulching and bean picking frequency, straight to your inbox.
Learn how to plant, grow and save bean seeds. We’ll be with you every step of the way, all season long!
How to plant your beans
So you have a packet of bean seeds—now what? We’re here to help you get those bean seeds in the ground. And don’t worry—planting these beans is as easy as 1-2-3.
Plant your seeds outdoors anytime after the last spring frost. Across much of Canada, the outdoor planting date is the May long weekend but you can check The Old Farmer’s Almanac for the specific date in your region. After that date, you can go ahead and plant your seeds outside directly in the ground or in a container. Here’s what you do:
- Make small holes in the soil about 1.5 centimetres deep and 20 centimetres apart.
- Drop one bean seed into each hole.
- Cover the beans with soil and give them a thorough watering.
Keep the soil somewhat moist after planting your seeds. In 4-10 days, the seeds should start to germinate.
If you’d prefer to start your seeds inside to get a jump on the growing season, that’s an option too. About 2-4 weeks before your last frost date, sow your beans inside in biodegradable trays or containers. It’s that easy! You can repeatedly plant and harvest beans throughout the summer—just follow these same instructions each time.
(Note: Did you pick up a packet of bean seeds from a SeedChange booth at an event? These easy instructions will apply to any bean you received from us, including Dragon Tongue, Royal Burgundy and Blue Jay beans.)
Fresh beans vs. dry beans
Fresh bean pods

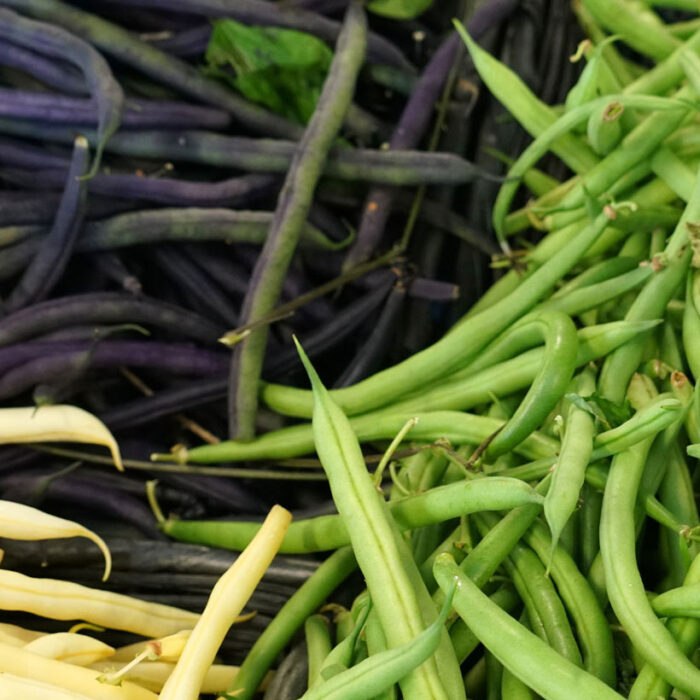
Fresh bean pods, snap or string beans are what many people think of when they think of beans. Some people call them green beans but they can actually come in a diversity of colours, not just green! Fresh beans are incredibly versatile and can be eaten raw, steamed, roasted or grilled. They are usually eaten fresh during the growing season but can be saved for the winter by freezing, canning or pickling the pods.
Dry bean seeds

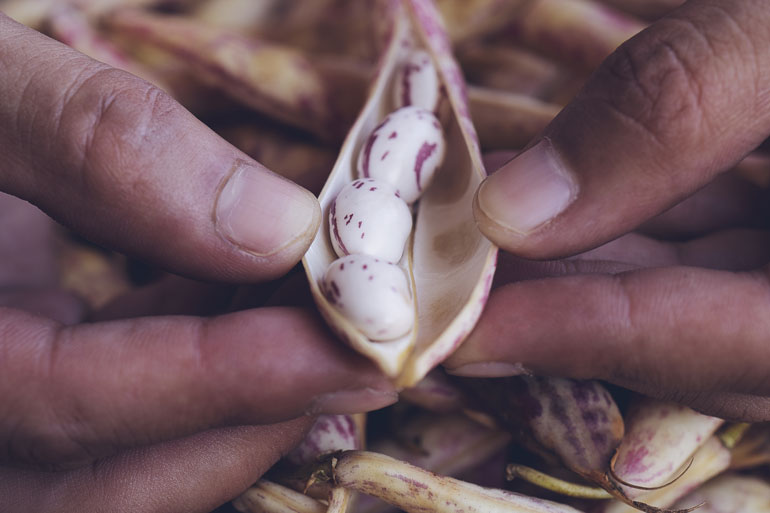
Dried beans are the dried seeds of the bean pod left on the plant long enough to reach full maturity. When fully mature, bean seeds will rattle inside the pods and can then be removed, dried, saved and stored, making them an excellent winter food. Because they are dried they require reconstituting with water and longer cooking times before eating but provide an excellent source of protein in stews, soups and classic baked bean dishes.
How to save your bean seeds

Top tip: if you want to save seeds at the end of the season, make sure you’re sourcing open-pollinated seeds. Get more tips about choosing your seeds here.
Choose a few of your best looking bean pods DON’T eat them! Let them stay on the bush/vine until they are dry and brown. The beans will rattle in the pods once they are fully dry and ready to be stored. If your area is too humid or the weather is too wet for them to dry outdoors, cut the whole plant or pull it up by the roots and hang it upside down indoors in a well ventilated area. Again, allow them to dry until the seeds rattle in the pods when you shake them.
Crack the dry pods open, remove the seeds, and store them in an envelope in a dark, dry, cool place.
Don’t forget to write the variety’s name and the year on your envelope! Bean seeds can usually be saved for up to three to five years before being planted again.
For the dry beans and fresh pods you aren’t going to save, check out these bean recipes.
Bean fun facts
The name ‘string bean’ refers to the fibrous stringy strands that were once common along the pods of most beans, a feature that has now been bred out of most modern varieties. ‘Strings’ will usually only be present when a bean is overripe.
As members of the legume plant family, beans have the amazing ability to draw nitrogen from the air and add it to the soil. In this way, beans don’t just grow nutritious, delicious food (check out some delightful recipes), they help to enrich the soil in which they grow.